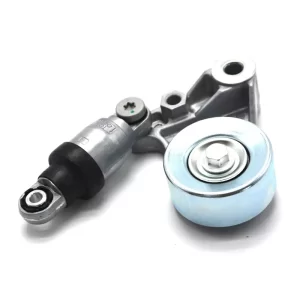
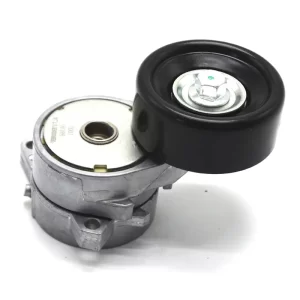
Pingutusseadme ja rihmarataste mõistmine: Mootori optimaalse jõudluse võtmekomponendid
Pingutus- ja tühikäigurihmad mängivad asendamatut rolli nii ajastusrihmade kui ka lisaseadmete veorihmade tõhusas juhtimises auto- ja tööstuslike mootorite puhul. Need komponendid on olulised mootori tõrgeteta töö tagamiseks ja rihmaga töötavate süsteemide eluea pikendamiseks.
Pingutusrattad
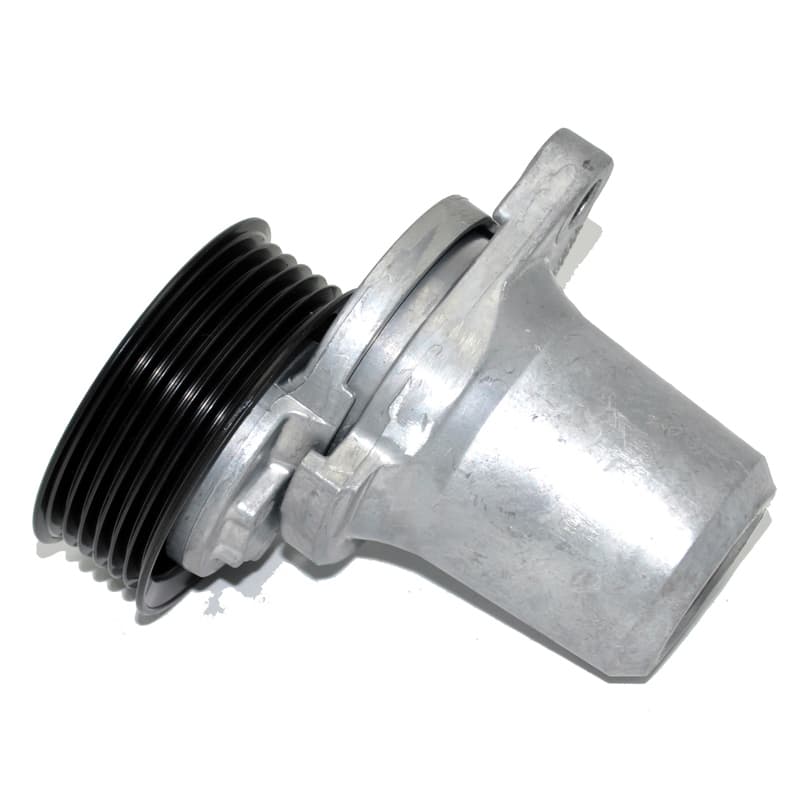
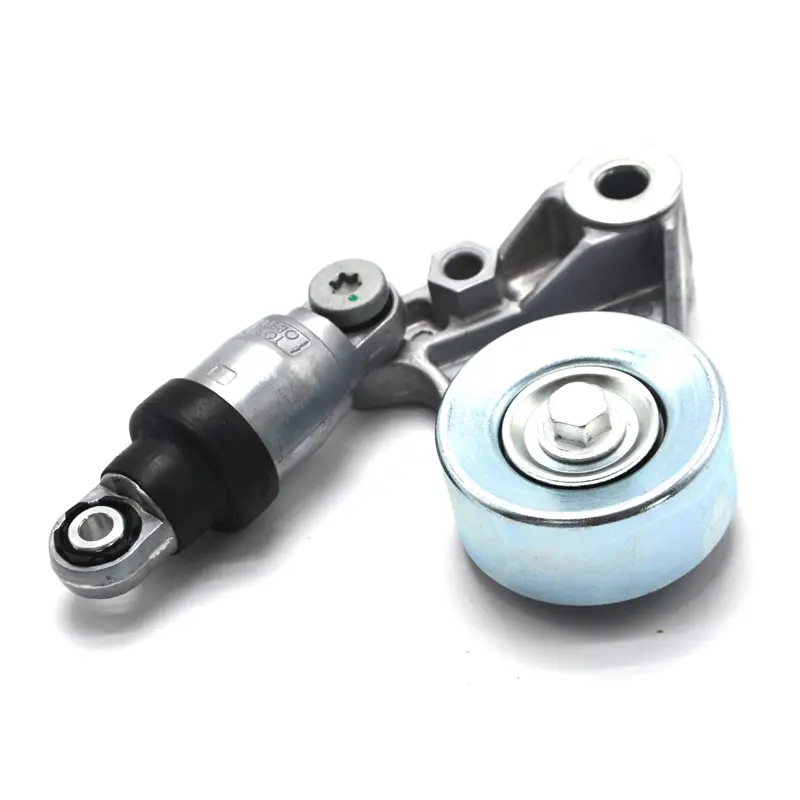
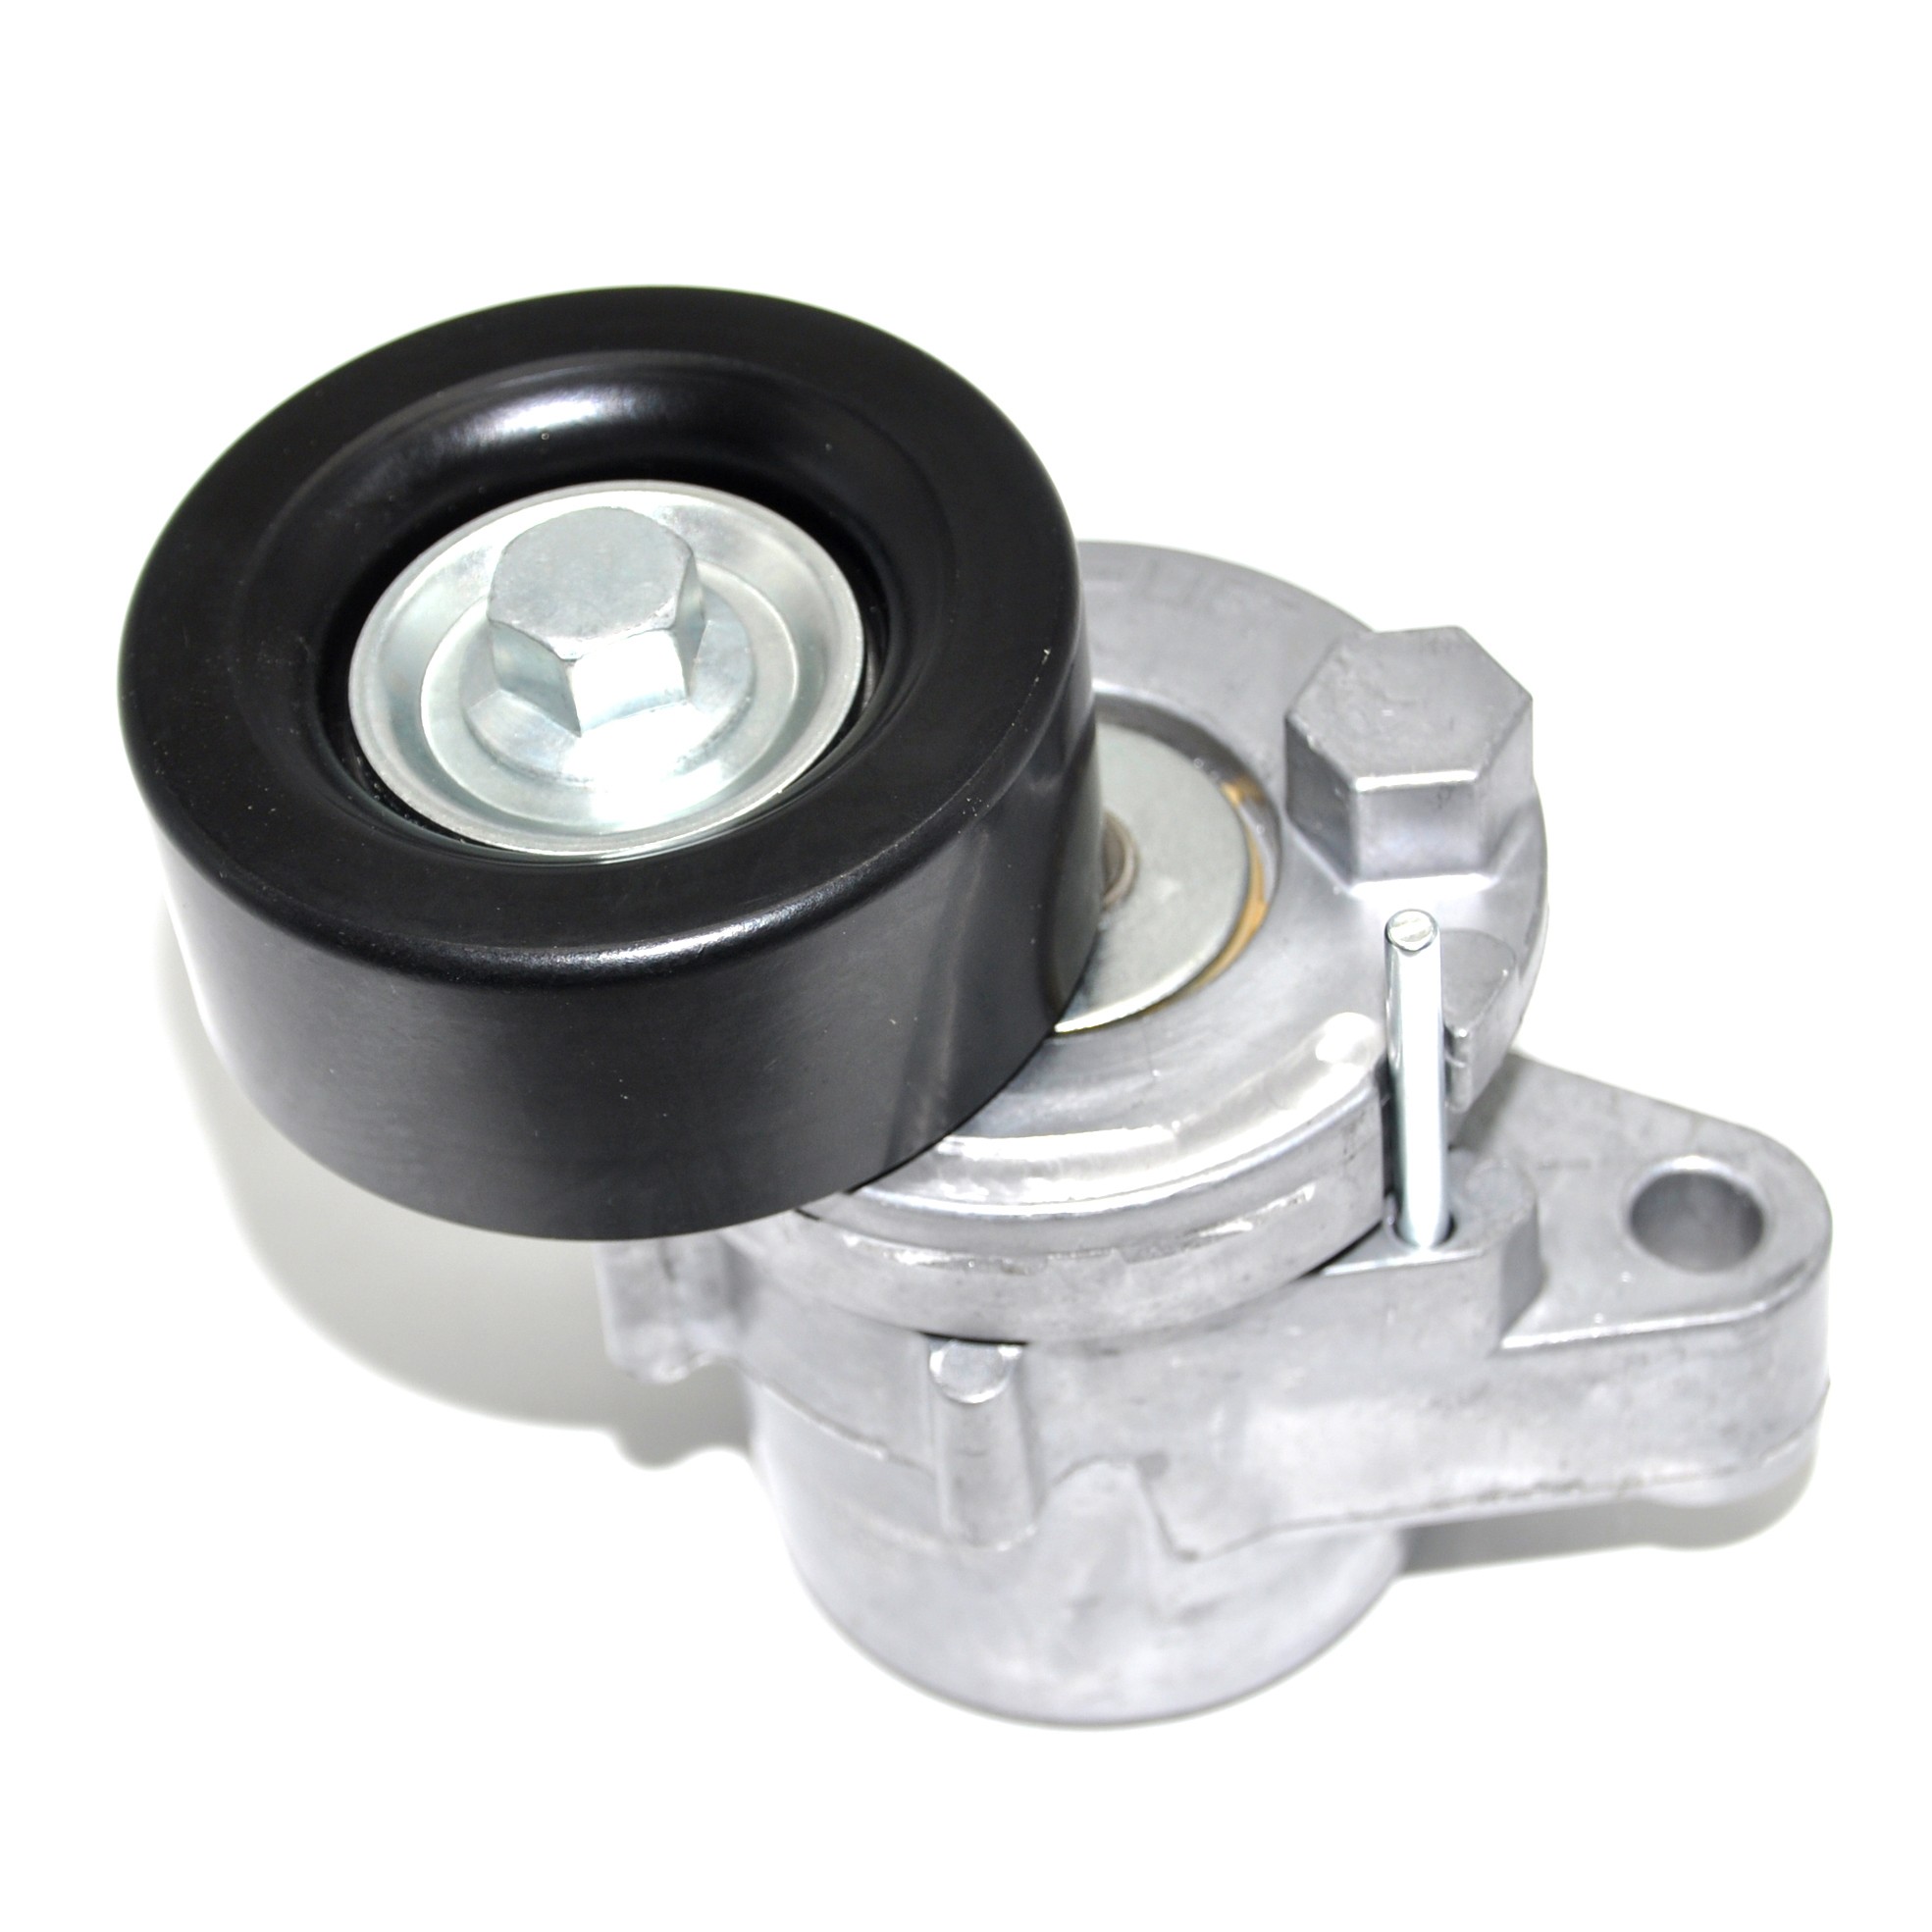
Pingutusrihmaratas on oluline veorihma õige pinge säilitamiseks, mis on tõhusa jõuülekande ja selliste probleemide nagu rihma libisemine või enneaegne kulumine vältimiseks hädavajalik. See osa kasutab vedru- või hüdraulilist süsteemi, et automaatselt reguleerida pinget, kui rihm venib või tõmbub tööpinge tõttu. Pidevalt muutustega kohanedes aitab pingutusrihmaratas säilitada ühtlast jõudlust ning pikendab rihma ja sellega seotud komponentide kasutusiga.
Juhtrattad
Seevastu tühikäigurihmad ei reguleeri aktiivselt pinget, vaid juhivad rihma ümber mitmesuguste mootori komponentide, näiteks vahelduvvoolumootorite, veepumpade ja kliimaseadmete kompressorite. Nende peamine ülesanne on säilitada rihma õige joondus, mis vähendab vibratsiooni ja kulumist. Rihma õiget joondamist tagades aitavad tühikäigurihmarattad jaotada pingeid ühtlaselt kogu rihma ulatuses, aidates kaasa mootori sujuvale tööle ja ennetades joondusviga seotud probleeme.
Mõlemat tüüpi rihmarattad on konstrueeritud nii, et nad peavad vastu mootori nõudlikele tingimustele. Need on ehitatud nii, et nad peavad vastu kõrgetele temperatuuridele, pidevatele vibratsioonidele ja halastamatutele pöörlemisjõududele. Nende komponentide vastupidavus ja usaldusväärsus on mootori rihmaga töötavate süsteemide jõudluse ja pikaealisuse säilitamiseks ülioluline, mis rõhutab nende tähtsust kaasaegses mehaanika- ja autotööstuses.
Rihmarataste paigaldamine: Põhjalik samm-sammult juhend
1. Ettevalmistus:
- Tööriistade kokkupanek: Koguge vajalikud tööriistad, nagu mutrivõtmed, mutrivõtmed, pöördemomendi võtmed ja vajaduse korral rihmaratta tõmbaja. Õigete tööriistade olemasolu hõlbustab sujuvamat paigaldusprotsessi.
- Käsitsi konsulteerimine: Üksikasjalikud paigaldusjuhised, sealhulgas skeemid ja pöördemomendi andmed, leiate sõiduki hooldusjuhendist. See tagab täpsuse ja aitab vältida võimalikke probleeme paigaldamisel.
2. Ohutusmeetmed:
- Aku väljalülitamine: Mootori juhusliku käivitamise vältimiseks ühendage aku miinuspool lahti. See samm on teie ohutuse tagamiseks paigaldusprotsessi ajal väga oluline.
- Mootori jahutus: Laske mootoril enne tööde alustamist täielikult jahtuda. See hoiab ära kuumade komponentide põhjustatud põletused ja tagab ohutuma töökeskkonna.
3. Rihma eemaldamine:
- Vabastage rihma pinge: Kasutage võtit või pingutusriista tööriista, et leevendada pinget serpentiin- või ajastusrihma pinget. Pange tähele pinguti asendit ja rihma nõuetekohaseks eemaldamiseks vajalikku jõudu.
- Eemaldage vöö: Libistage rihm ettevaatlikult tühikäigurattalt ja teistelt rihmaratastelt maha. Pange tähele rihma kulgemist, et tagada hiljem täpne tagasipaigutamine.
4. Vana rihmaratta eemaldamine:
- Kinnitusdetailide leidmine ja eemaldamine: Tehke kindlaks ja eemaldage poldid või kinnitusdetailid, mis kinnitavad vana tühikäiguketta. Hoidke need kinnitusdetailid alles, sest neid vajatakse uue paigalduse jaoks.
- Eemaldage rihmaratas: Kui vana rihmaratas on vastupidav, kasutage selle ettevaatlikuks eemaldamiseks rihmaratta tõmbaja. Vältige liigse jõu kasutamist, et vältida kõrvalolevate komponentide kahjustamist.
5. Komponentide kontrollimine:
- Rihma ja rihmarataste kontrollimine: Kontrollige rihma kulumismärkide, näiteks pragude või klaasistumise suhtes. Kontrollige teisi rihmarattaid kahjustuste või liigse kulumise suhtes ja vahetage välja kõik halvas seisukorras komponendid.
- Puhastage ala: Puhastage paigaldusala põhjalikult, et eemaldada prahi, mustus või vana määrdeaine. Puhas pind tagab uue rihmaratta turvalise paigaldamise.
6. Uue rihmaratta paigaldamine:
- Asetage rihmaratas: Joondage uus rihmaratas paigalduskohaga, tagades, et see vastab vana rihmaratta orientatsioonile. Õige joondamine on õige paigalduse jaoks hädavajalik.
- Kinnita poltidega: Paigaldage ja pingutage kinnituspoldid või kinnitusvahendid. Kasutage pöördemomendi võtit, et rakendada õiget pöördemomenti vastavalt tootja spetsifikatsioonidele. Vältige ülepingutamist, mis võib kahjustada rihmaratast või paigalduspiirkonda.
7. Rihma uuesti paigaldamine:
- Järgige marsruutimisgraafikut: Veenduge, et rihm on õigesti asetatud kõigi rihmarataste, sealhulgas uue tühikäiguratta kohal, vastavalt marsruudi skeemile. Täpne marsruutimine takistab rihma valesti joondumist ja tagab rihma nõuetekohase toimimise.
- Rakendage õiget pinget: Reguleerige rihma pingutust pingutusseadme abil. Automaatsete pingutusseadmete puhul veenduge, et need toimivad korralikult, et säilitada õige pinge.
8. Joondamise kontroll:
- Kontrollida vööde istekohti: Veenduge, et rihm istub õigesti kõigis rihmaratta soonetes. Korralik istumine on oluline libisemise vältimiseks ja tõrgeteta töö tagamiseks.
- Tagada sujuv pöörlemine: Kontrollige, et tühikäiguratas pöörleb sujuvalt, ilma kõikuva või vastupanuta. See näitab õiget paigaldamist ja joondamist.
9. Operatiivne testimine:
- Aku uuesti ühendamine: Ühendage aku negatiivne klemm uuesti, kui paigaldus on lõpetatud.
- Mootori käivitamine: Käivitage mootor ja jälgige rihma ja tühikäiguratta tööd. Kuulake, kas esineb ebatavalisi helisid, näiteks vingumist või kolinat, mis võivad viidata paigaldamise või joondamisega seotud probleemidele.
- Kontrollige rihma jälgimist: Veenduge, et rihm liigub õigesti üle kõigi rihmarataste, ilma et see libiseb või rööbastelt maha libiseb. Korralik rihmajälgimine on oluline rihmaajami tõhusaks toimimiseks.
Järgides neid üksikasjalikke samme, saate saavutada täpse ja turvalise rihmaratta paigaldamise, tagades teie sõiduki rihmaülekandesüsteemi optimaalse jõudluse ja pikema eluea. Korralik paigaldus mitte ainult ei suurenda teie mootori funktsionaalsust, vaid aitab ka kaasa teie sõiduki üldisele töökindlusele ja tõhususele.

